Life Drawings


Life Drawing Process


|
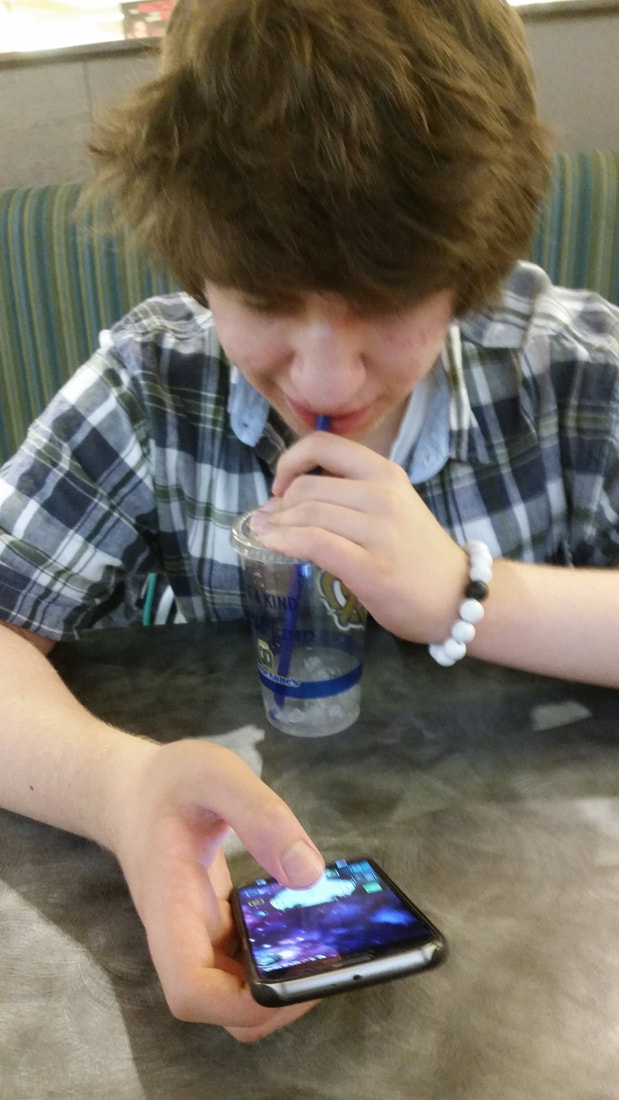
In each drawing, I started with a general outline of all the important elements of the object. In this example, I traced out the shape of the controller, the buttons, joystick, and the details of each that helped define it as these individual elements. While working on all of these drawings, I had a setup of three main screens: the large left, which was my workspace, the top right canvas which had my reference photo, and the bottom right which was a duplicate of the left in order to keep track of how the image as a whole was turning out.
The next step of this process was laying down a basic flat color of the entire object. I chose the blue that made up most of the body. This helps later on in that the other elements of the image were made using clipping layers, so having a boundary for all the future layers prevented the need for constant cleanup.
Next I laid down more flat colors, which was relatively simple in this case. I color picked a medium shade from my reference image and used it for the flat colors of the buttons, joystick, and side of the controller.
The next steps were mainly the detailing. Specifically in this image, the shading on both the black and blue portions. This was again done through clipping layers, and using the sketch layer as a guide. While doing this, I had the sketch layer set to a lower opacity so that I could keep the general shape correct and see that the lines were smooth. I color picked for most of the shading from the image again. Specifically on the black portions, it was more of finding the highlights of the area.
Another important part to a few of these drawings I did was using different types of brushes in order to create some extra texture in some spots. For this image, I used a "speckle" brush. The real world equivalent to this would be a dry brush with a small amount of paint being dabbed on lightly to create small dots in a relatively large cluster. It helped the image look a bit more realistic, as the plastic has a bit of texture, rather than appearing completely smooth.
One more note about shading and highlighting: as a general rule, I made sure not to use any solid black or solid white when shading or highlighting. This was easy due to being able to color pick from my source image. Each time I added shading to a part of the object, I laid down the color using one of my digital oil brushes, either the flat brush or the round brush. In this example, the round brush. Afterwards, I used an "oil blender" brush, which has a low density and a high amount of blending, dilution, and persistence which allows me to soften the edges and possibly push the paint around a bit in order to blend it in.
|
Photography
Top 25


Other Photos